The Voron 2.4 Build Experience
Posted
Introduction
This year I joined a pyramid scheme: 3D printer building. Over the last six months, I’ve invested time, money, and possibly my sanity to build a 3D printer whose entire purpose is to print more 3D printer parts. But the final product has been so worth it!
I probably spent 3 months hemming and hawing over what 3D printer to buy or build. There’s a lot of vaporware in the 3D printing market these days and it’s hard to know what’s the right printer to go with. Ultimately, I decided to build a Voron2.4 due to its ability to work with tougher “engineering-grade” plastics, the rapid printing speeds that it’s able to achieve, and the strong community backing. In the end, I have a phenomenal 3D printer that’s met all my needs and then some.
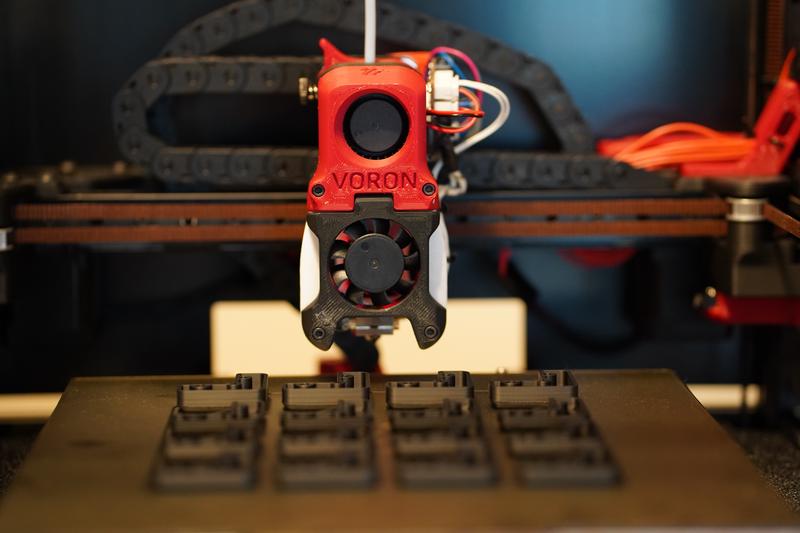
Pictures
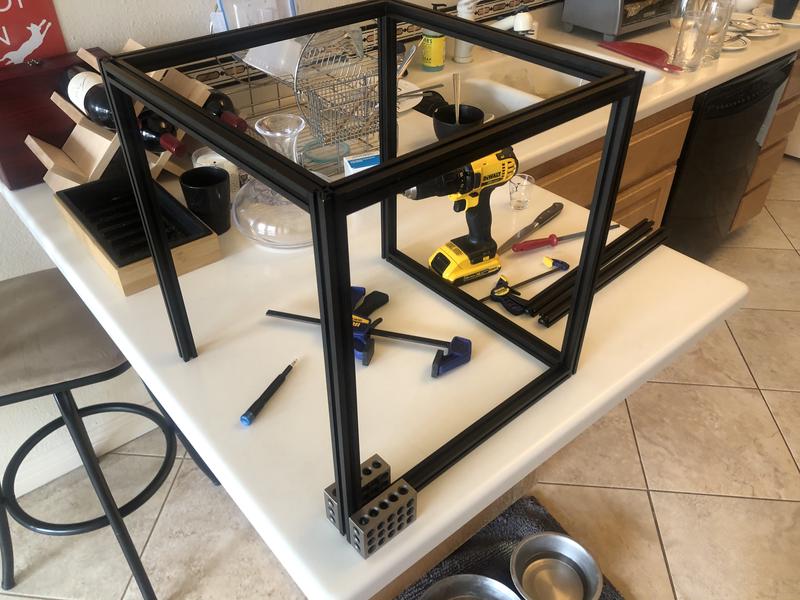
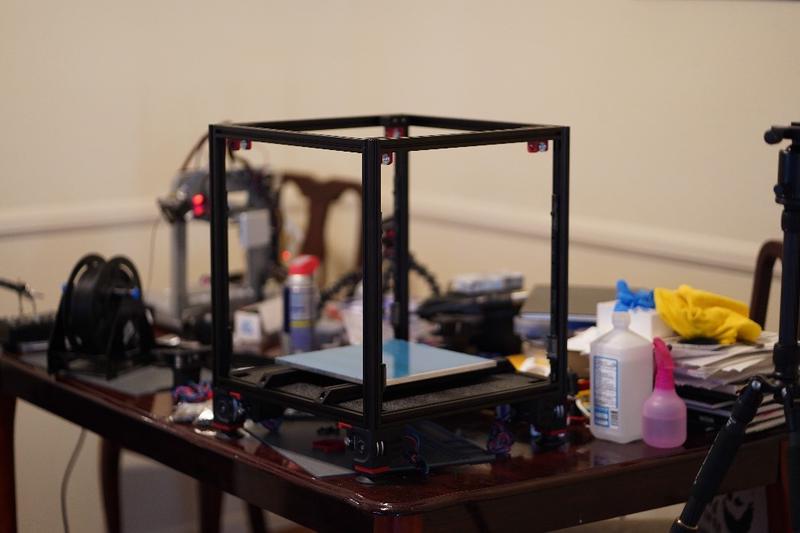
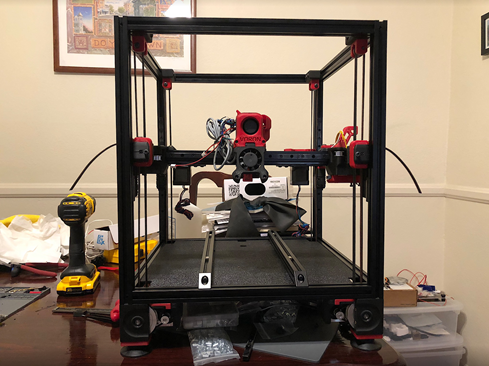
Some thoughts about the Voron Experience
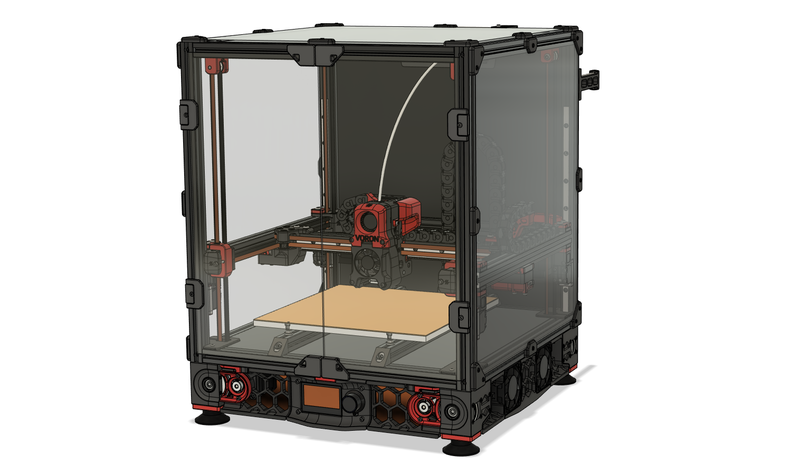
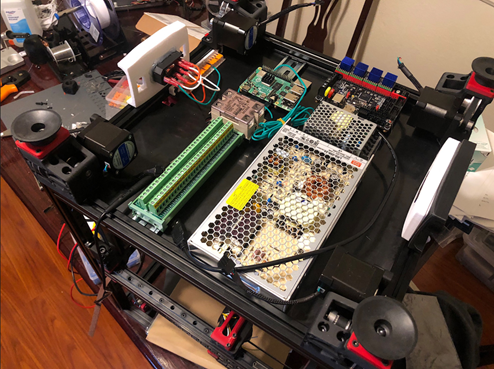
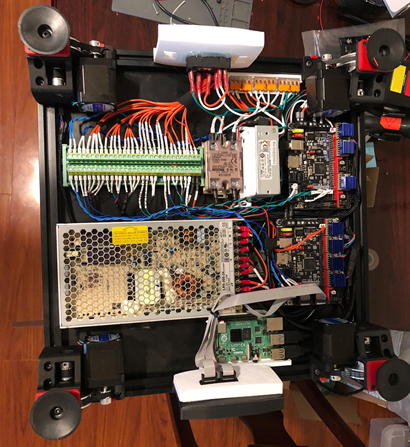
Overall, the build process went smoothly. Between the official documentation, YouTube videos from people that have built Vorons in the past, and their discord community, I was able to fit all the components together, wire everything without any electrical failures, including 120V mains, and configure the Klipper firmware in ~30 hours of work. The Voron bill of materials can be a little bit overwhelming (100 components sourced from a variety of vendors), but most people seem to buy kits to reduce the tedium of the process. This approach is roundly discouraged by the Voron dev-team (“if it isn’t our BOM, it isn’t a Voron”-type mentality). But in my experience, replacing one or two parts is worth it for the convenience. The official documentation was pretty good, but omitted a few steps I only discovered later. The CAD model of the printer is very good and could almost replace the official documentation.
The dimensions of the printer that I built was 250mm X 250mm which is the smallest size that Voron offers. The larger dimensions are more popular, but there are a few reasons why I didn’t build a larger printer. The first reason is that I can’t think of many parts that I would print that an extra 10cm would help with. The second reason is that the printing failure rate scales with the volume of the printed part. So even if the part is only 40% bigger, the print is almost 3X more likely to fail. The third reason is that part of the reason why coreXY machines are better than bed slingers is that the moving parts are light and thus can move faster. When using a larger build volume, the gantry becomes heavier and thus the maximum speed is slower. Lastly, I live in a small apartment. A bigger build volume means less space for me. That being said, fitting all the electronics underneath the printer was a pain with the smaller working dimensions.